Soft, thick, buttery cookie bars that feel like a warm hug straight from the oven.
I’ve always loved baking cookies, but there are days when scooping tray after tray feels like a chore. That’s exactly how I stumbled onto cookie bars .
This recipe is the one I’ve fine-tuned over the years. It’s the version I make when friends stop by unexpectedly or when I want something warm and sweet without spending an hour in the kitchen.

Why Cookie Bars Hit Different
Cookie bars are the answer to the craving that doesn’t want effort. No meticulous scooping. No batches. No trays cycling in and out of the oven. Just one pan, one dough, one bake.
Another bonus? The texture. Cookie bars have this perfect balance — crispy edges and a soft center that stays gooey even after cooling. A standard cookie loses some of that softness as it sits. Bars stay plush. And because they’re thicker, you get more chocolate in each bite, which is always a win.
The First Time I Made Them
The first version I tried tasted good but felt dry around the edges. I had baked them too long — waiting for the top to look “done.” Big mistake. Cookie bars should look slightly underbaked when you pull them out.
They continue setting as they cool, and that’s the secret to the soft, bakery-style texture.
Over the years, I learned little tricks: pressing the dough gently instead of packing it tightly, letting the butter soften fully, and using a mix of chocolate chips and chopped chocolate chunks. That last detail makes a big difference — the chunks melt into streaks that feel almost like pockets of fudge.
Ingredients
Makes 12–16 Bars
- ½ cup unsalted butter, softened
- ½ cup brown sugar
- ⅓ cup granulated sugar
- 1 large egg
- 1 teaspoon vanilla extract
- 1 ¼ cups all-purpose flour
- ½ teaspoon baking soda
- ¼ teaspoon salt
- 1 cup chocolate chips (mix of semi-sweet + milk chocolate works great)
Prepare the Pan
Line an 8×8-inch baking pan with parchment paper. Leave a little overhang on the sides so you can lift the bars out easily later.
This step saves you from scraping stuck edges. It also gives the bars a chance to cool evenly.
Cream the Butter and Sugars
In a mixing bowl, beat together the softened butter, brown sugar, and granulated sugar. Mix until creamy and smooth. If you do this by hand, it takes a minute or two, but the texture is worth the effort.

The brown sugar gives caramel notes that make these bars taste richer than typical cookies.
Add the Egg and Vanilla
Crack in the egg and pour in the vanilla extract. Mix again until everything blends together. The batter will look glossy and slightly fluffy.
This step builds structure and keeps the bars soft.
Add the Dry Ingredients
Sprinkle the flour, baking soda, and salt over the wet mixture. Stir gently until everything comes together. Avoid overmixing — once the flour disappears, stop.
Overmixing leads to tough cookie bars, and we want them tender.
Fold in the Chocolate
Add the chocolate chips (and chunks if you’re using them). Stir just enough to distribute them.
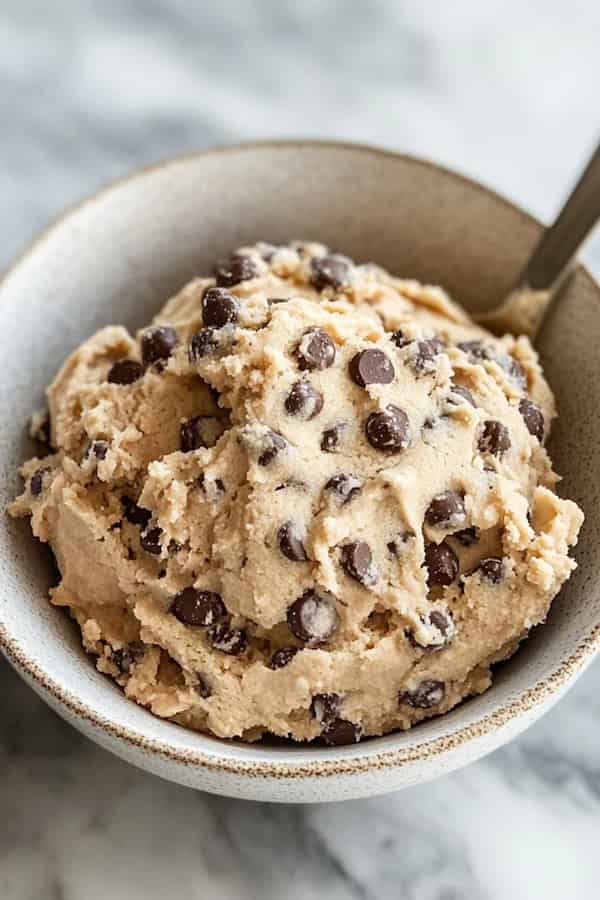
Try to save a small handful to sprinkle on top for a prettier finish.
Press the Dough Into the Pan
Scoop the dough into your prepared pan. Use your fingers or a spatula to press it gently into an even layer. Don’t pack it tightly — light pressure is enough.
The dough should reach all edges but not be smashed down flat.

Bake to Perfection
Bake at 175°C (350°F) for 18–22 minutes. The edges should look lightly golden, and the center should look slightly soft, even a bit underbaked. That softness is exactly what keeps the bars gooey and irresistible.
When you remove the pan from the oven, the bars will continue firming up as they cool.
Cool and Slice
Let the bars rest for at least 20–25 minutes before cutting. Warm slices taste amazing but may crumble a little (which honestly, is part of the charm). Fully cooled bars slice into perfect squares.

I like cutting them into 12 larger bars for a bakery feel or into 16 mini squares for gatherings.
What Makes These Bars So Good
These cookie bars work because the ingredients are balanced. The butter adds richness. The brown sugar brings moisture and flavor. The slightly underbaked center keeps the texture soft. And the thick shape gives you more chew than a traditional cookie.
Plus, this recipe is forgiving. If you want them thinner, use a larger pan. If you want them extra gooey, bake for a minute or two less. They’re hard to mess up.
Fun Variations to Try
Add Nuts
Chopped walnuts or pecans add crunch and a toasted flavor that pairs perfectly with chocolate.
Peanut Butter Swirl
Drop spoonfuls of peanut butter over the top before baking and swirl with a knife.
Salted Caramel Finish
Drizzle warm caramel sauce over the cooled bars and sprinkle a pinch of flaky salt.
Holiday Version
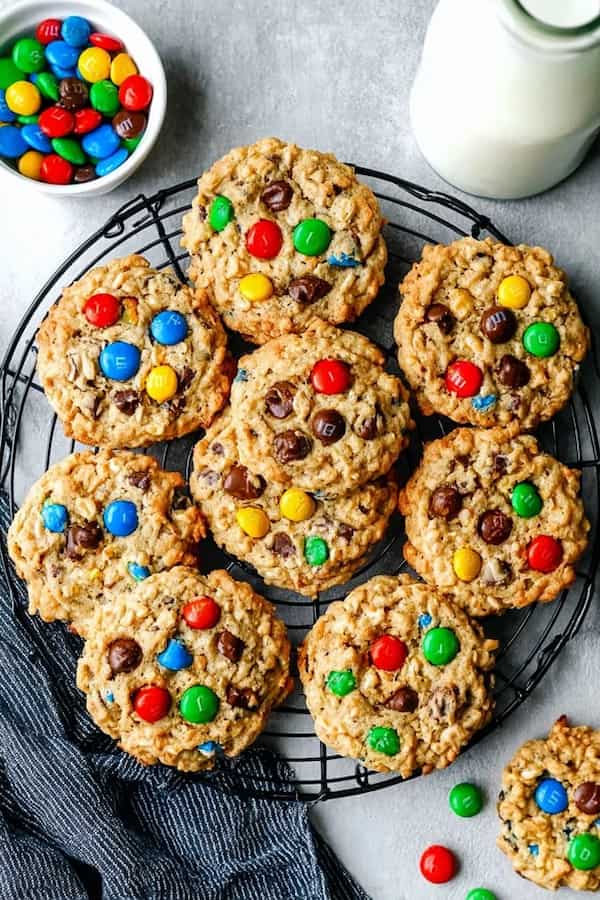
Add red and green chocolate candies for a festive look.
Serving Ideas
These bars go well with coffee, warm milk, vanilla ice cream, or a simple cold glass of oat milk.
If I’m hosting guests, I warm the bars slightly and serve them with a scoop of ice cream melting over the top. It turns them into a dessert that feels way fancier than the effort required.
They also pack nicely for picnics, road trips, or lunchbox treats. They stay soft for up to three days in an airtight container.
Can I Use Melted Butter Instead of Softened Butter?
You can, but the texture changes. Melted butter makes the bars denser and slightly greasier.
Softened butter gives a fluffier, bakery-style bar. If you’re aiming for a soft, chewy center with crisp edges, stick to softened butter.
Can I Double This Recipe for a Bigger Pan?
Yes. Double everything and use a 9×13-inch pan. Baking time will increase slightly — usually by 4–6 minutes. Keep an eye on the center and take the bars out when they still look a bit soft.
Make Them Today!
Cookie bars are one of those desserts that make life feel a little easier. They taste indulgent but don’t require a long list of steps. Every bite is soft, warm, and full of chocolate.
Once you try making cookie bars, you might find yourself choosing them over traditional cookies more often than you expect.
Ingredients
Method
- Line an 8×8-inch baking pan with parchment paper. Leave a little overhang on the sides so you can lift the bars out easily later.
- In a mixing bowl, beat together the softened butter, brown sugar, and granulated sugar. Mix until creamy and smooth. If you do this by hand, it takes a minute or two
- Crack in the egg and pour in the vanilla extract. Mix again until everything blends together.
- Sprinkle the flour, baking soda, and salt over the wet mixture. Stir gently until everything comes together. Avoid overmixing — once the flour disappears, stop.
- Add the chocolate chips (and chunks if you’re using them). Stir just enough to distribute them.
- Scoop the dough into your prepared pan. Use your fingers or a spatula to press it gently into an even layer.
- Bake at 175°C (350°F) for 18–22 minutes. The edges should look lightly golden, and the center should look slightly soft, even a bit underbaked.
- Let the bars rest for at least 20–25 minutes before cutting. Warm slices taste amazing but may crumble a little (which honestly, is part of the charm). Fully cooled bars slice into perfect squares.