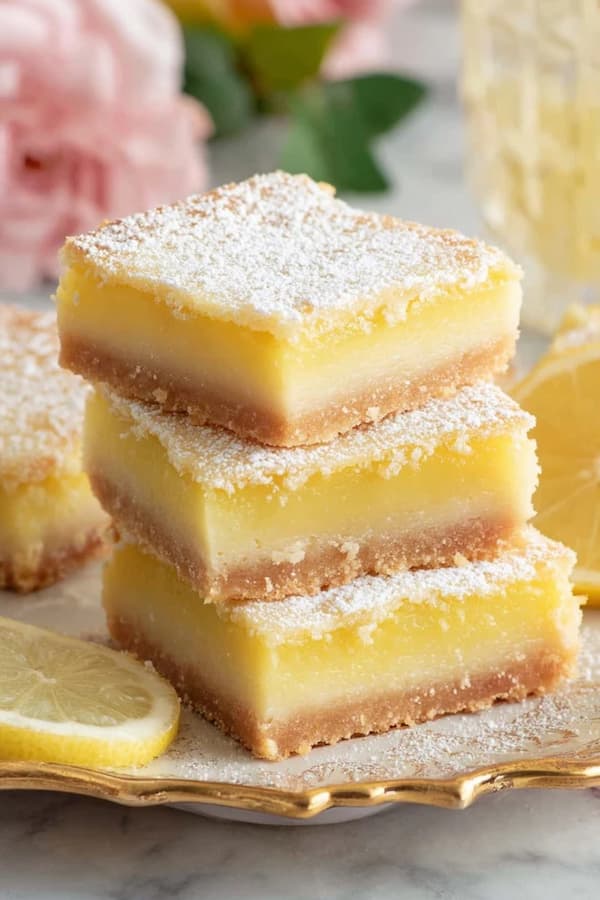
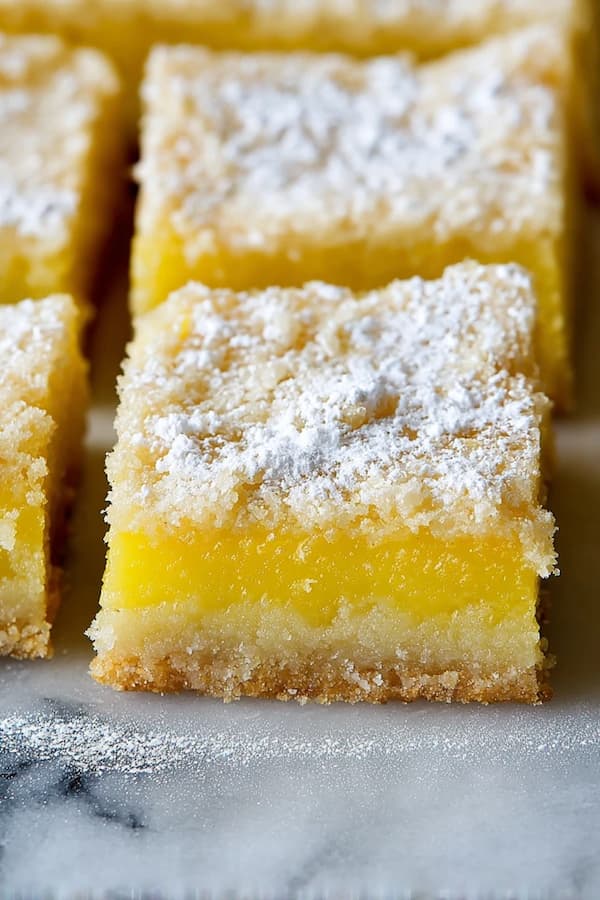
Classic lemon bars are the perfect marriage of a buttery, shortbread crust and a sharp, citrus topping.
They provide a bright burst of flavor that works for a fancy tea party or a simple backyard picnic. This recipe is a favorite because it uses basic pantry items to create a dessert that is both elegant and incredibly easy to master.
Ingredients
This recipe makes 16 squares when baked in an 8×8 inch square pan.
- 1 cup all-purpose flour (for the crust)
- 1/2 cup unsalted butter, softened
- 1/4 cup powdered sugar (plus extra for dusting)
- 1 cup granulated white sugar
- 2 large eggs
- 2 tablespoons all-purpose flour (for the filling)
- 3 tablespoons fresh lemon juice
- 1 tablespoon lemon zest
- 1/4 teaspoon salt
The Foundation
The base of any great lemon bar is the crust. We want a shortbread that is sturdy enough to hold the lemon layer but tender enough to melt in your mouth. Many people try to over-work this dough, but the goal is to keep it simple. You are essentially making a thick cookie that serves as a floor for the tart custard we will add later.
Using softened butter is the key here. It mixes into the flour and powdered sugar much more evenly than cold butter, creating a dough that feels like damp sand. Once pressed into the pan and baked, it becomes a crisp, golden brown platform.
If the crust is too soft, the lemon juice will soak in and make the whole bar soggy. We want that distinct separation between the crunch and the cream.
Base Bake
Start by preheating your oven to 350°F. In a medium bowl, cream together the one cup of flour, softened butter, and the 1/4 cup of powdered sugar. Press this mixture firmly into the bottom of an ungreased 8×8 inch pan.
You can use the bottom of a flat measuring cup to get it perfectly even. Bake this for about 18 to 20 minutes. You want the edges to be just a light golden brown.
Zest Prep
While the crust is in the oven, get your lemons ready. Use a fine grater to take just the yellow skin off the lemon.
Avoid the white part underneath, as that is very bitter. Freshness is vital here. If you use bottled lemon juice, you lose the natural oils that give the bars their scent. Squeeze the juice and set it aside.
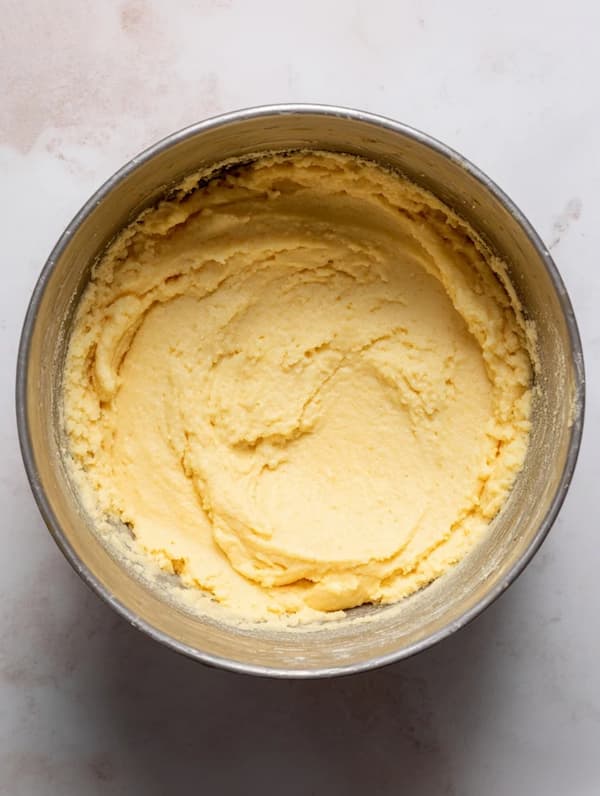
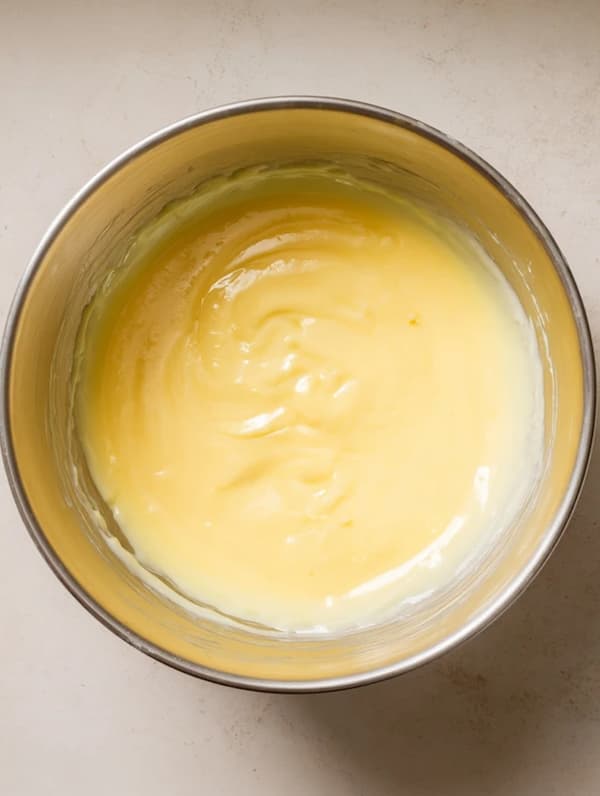
Filling Whip
In another bowl, whisk together the granulated sugar and the two tablespoons of flour. Adding the flour to the sugar first prevents it from clumping once you add the liquid. Whisk in the eggs one at a time, then stir in the lemon juice, zest, and salt.
You don’t need a mixer for this; a simple hand whisk is better because it doesn’t add too many air bubbles to the custard.
Hot Pour
Once the crust is done, take it out of the oven. While the crust is still hot, pour the lemon mixture directly over it.
This is a little trick that helps the two layers bond together. If the crust cools down too much, the lemon layer might slide off when you try to eat the bars later.
Final Set
Slide the pan back into the oven. Bake for another 20 minutes. You are looking for the edges to be set and the center to have just a tiny bit of jiggle, like firm gelatin. If the top starts to brown too much, take them out immediately.
Over-baking will make the lemon layer rubbery rather than creamy.
Chill Time
This is the hardest part of the recipe: waiting. You must let the bars cool to room temperature on the counter. Once they are cool, put them in the refrigerator for at least two hours.
This cold time allows the lemon fats and sugars to firm up so you can get clean, sharp slices. If you cut them while warm, they will just fall apart.
Better Bite
To make these bars “top-notch,” pay attention to the sugar. I use powdered sugar in the crust because it contains a tiny bit of cornstarch, which makes the shortbread extra tender. For the top, I use granulated sugar to ensure the lemon flavor stays sharp and clear.
When you are ready to serve, use a fine strainer to dust a fresh layer of powdered sugar over the top. Do this right before serving, as the moisture in the lemon layer will eventually soak up the sugar and make it disappear.
That white coating gives the bars their classic look and adds a final hit of sweetness to balance the tart juice.
Common Pitfalls
A common mistake is using a metal pan that isn’t lined. Lemon juice is acidic, and it can sometimes react with aluminum or tin pans, giving your bars a slight metallic taste. To avoid this, you can line your pan with parchment paper.
This also makes it very easy to lift the entire block of bars out of the pan for easier slicing on a cutting board.
Another issue is air bubbles. If you whisk your eggs too vigorously, you will create a layer of foam on top of the bars.
While this doesn’t ruin the taste, it creates a thin, white “crust” on top of the yellow lemon. If you see bubbles after pouring the filling into the pan, you can pop them with a toothpick or a fork before putting the pan in the oven.
Why Did My Lemon Bars Turn Out Runny In The Middle?
If the center of your bars is liquid after cooling, it usually means they didn’t bake quite long enough or the eggs were too small. The eggs and the small amount of flour are what thicken the juice into a custard. Make sure you use “Large” eggs. Also, ensure your oven is actually at 350°F.
If the bars are still jiggling like water when the timer goes off, give them another five minutes. They should move like a single unit when you shake the pan, not like a liquid.
How Can I Get Perfectly Clean Squares When I Cut Them?
Getting a clean slice is all about temperature and the knife. First, make sure the bars have been in the fridge for at least two hours. A warm bar will always smear. Second, use a very sharp knife and dip it in a tall glass of hot water before every single cut.
Wipe the blade dry, make one long slice, and then clean the blade again. Removing the sticky lemon residue between cuts is the only way to keep the edges of your squares looking professional and sharp.
Ingredients
Method
- Start by preheating your oven to 350°F. In a medium bowl, cream together the one cup of flour, softened butter, and the 1/4 cup of powdered sugar. Press this mixture firmly into the bottom of an 8×8 inch pan lined with parchment paper.
- Bake this for about 18 to 20 minutes.
- While the crust is in the oven, get your lemons ready. Use a fine grater to take just the yellow skin off the lemon. If you use bottled lemon juice, you lose the natural oils that give the bars their scent. Squeeze the juice and set it aside.
- In another bowl, whisk together the granulated sugar and the two tablespoons of flour. Whisk in the eggs one at a time, then stir in the lemon juice, zest, and salt.
- Once the crust is done, take it out of the oven. While the crust is still hot, pour the lemon mixture directly over it. If the crust cools down too much, the lemon layer might slide off when you try to eat the bars later.
- Slide the pan back into the oven. Bake for another 20 minutes. You are looking for the edges to be set and the center to have just a tiny bit of jiggle, like firm gelatin.
- You must let the bars cool to room temperature on the counter. Once they are cool, put them in the refrigerator for at least two hours.