There’s something satisfying about turning a simple cake into something beautiful with a soft coat of frosting. The first time I tried, I was nervous. My hands shook, and I pressed too hard. The frosting stuck to the crumbs and dragged them around. But like most things in the kitchen, it got easier with practice.
Now, I see frosting a cake as part of the fun. It’s not just about the look — it’s about care and patience. Once you learn how to handle the cake, the frosting, and your tools, it becomes something you actually enjoy.
Let the Cake Cool First
If I could give one rule above all, it would be this one. Never frost a warm cake. Even a little heat will melt the frosting, make it run down the sides, and ruin the texture. I made this mistake more than once.
After baking, let your cake cool completely on a rack. If you have time, wrap it in plastic and chill it for half an hour before frosting. A cold cake is easier to work with. It stays firm, and the frosting spreads more evenly without pulling crumbs.
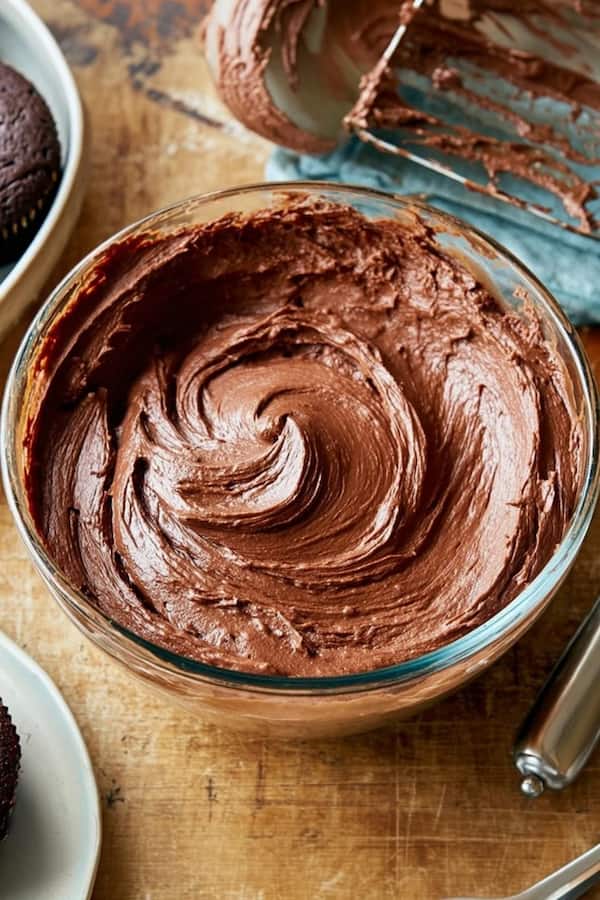
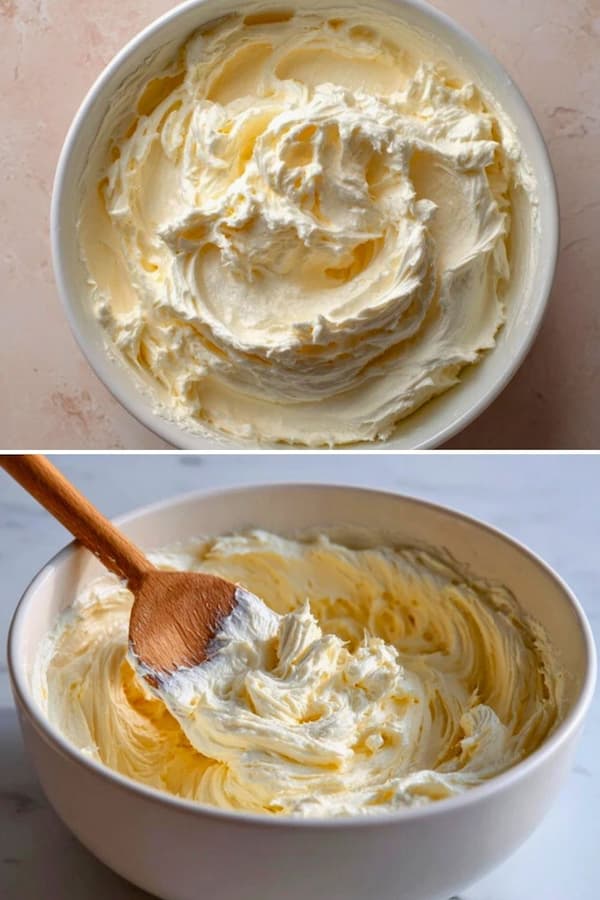
Preparing the Frosting
Frosting is easier to use when it’s soft and spreadable. If you made it ahead and kept it in the fridge, let it sit at room temperature for about ten minutes. Stir it gently until smooth.
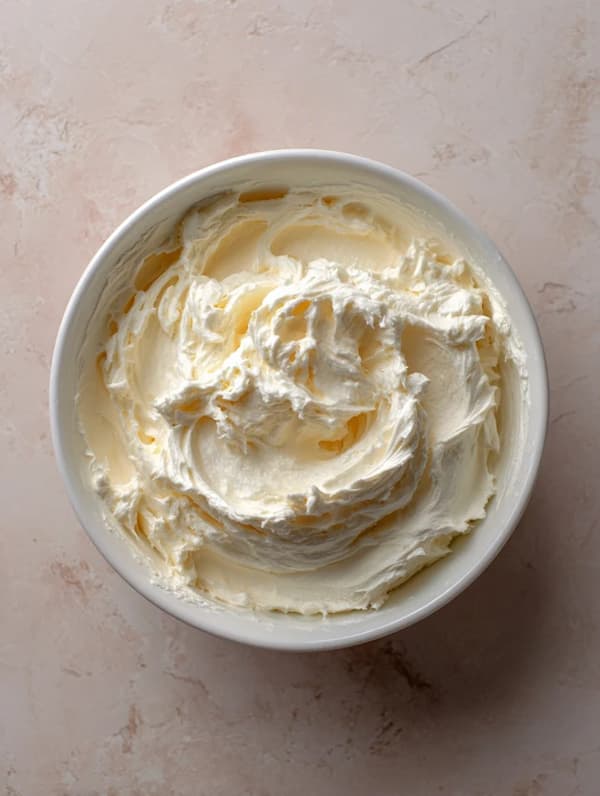
If it feels too stiff, add a spoon of milk to loosen it. If it feels too soft, place it in the fridge for a few minutes. The texture should feel creamy but not runny. Once you can spread it easily without dragging the cake, you’re ready to start.
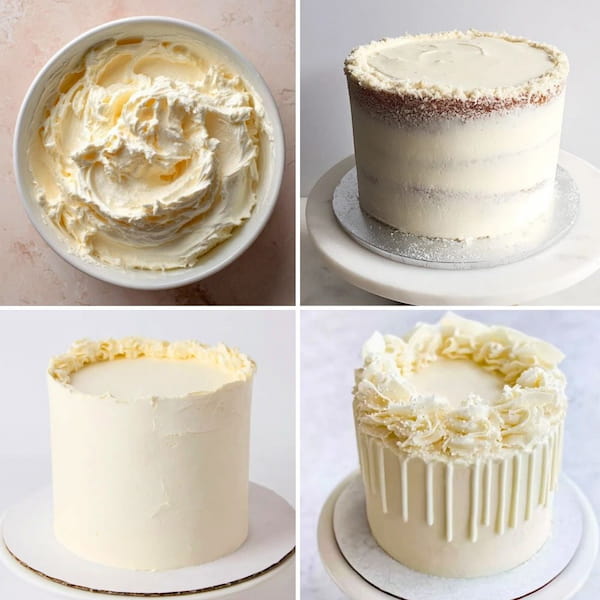
Start with a Crumb Coat
A crumb coat is the secret to a clean finish. It’s a thin layer of frosting that locks in the crumbs so they don’t show in the final layer.
Place the first cake layer on your plate or board. Add a small amount of frosting on top and spread it gently. Set the second layer on top and cover the sides with a very light layer of frosting. You don’t need to be neat. The goal here is just to catch the crumbs.
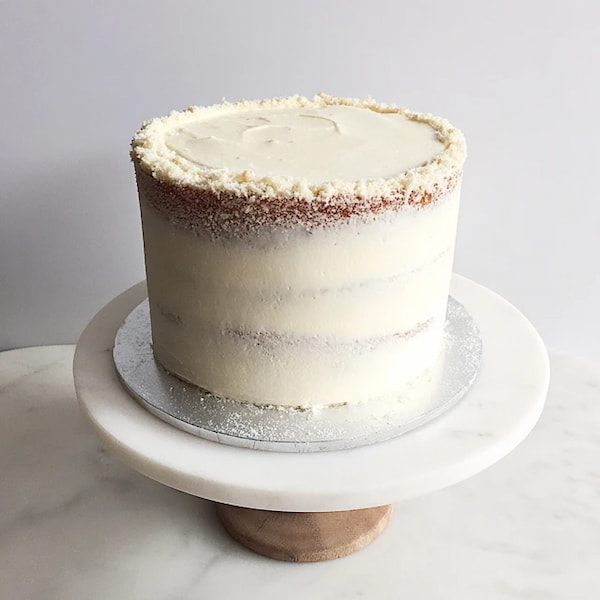
After that, chill the cake for about fifteen to twenty minutes. This helps the frosting set and gives you a solid base for your final coat. When I first learned about crumb coats, I thought it sounded like extra work, but once I tried it, I never skipped it again. It makes everything easier later.
The Final Layer
Now it’s time to give the cake its real look. Start by spreading a generous scoop of frosting on the top. Smooth it gently outward to the edges. Once the top looks even, begin working on the sides.
If you have a turntable, great — it helps you turn the cake smoothly as you spread. If not, you can move the plate slowly by hand. Keep your spatula steady and use long, even strokes. When you see thin spots, add a bit more frosting and blend it in.
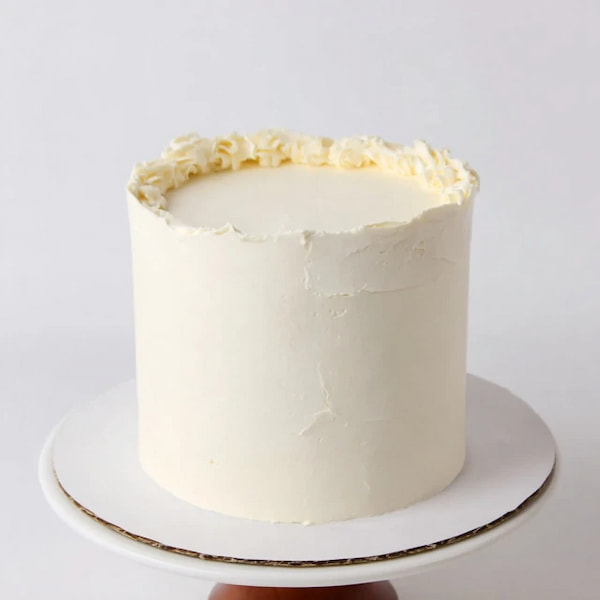
When the cake looks even, rinse your spatula in warm water, wipe it dry, and lightly glide it over the frosting. The heat from the spatula helps you get a cleaner, smoother surface.
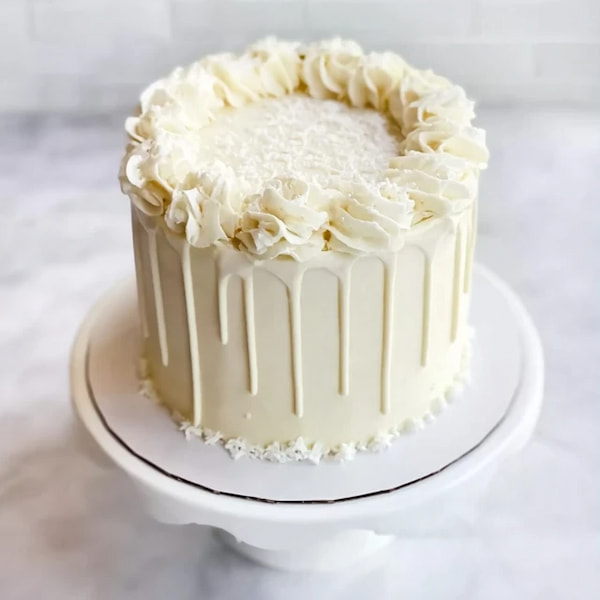
Small Fixes and Finishing Touches
Sometimes frosting can be stubborn. It may pull up crumbs or show small air bubbles. If that happens, chill the cake for a few minutes before continuing. When the frosting firms up a bit, it becomes easier to smooth.
If you like a rustic look, you can use the spatula to make soft waves or swirls. For a neater finish, chill the cake again for ten minutes and then run the spatula once more around the sides. This helps create sharper edges and a professional look.
Once you’re happy with the surface, you can add a border, sprinkle some nuts, or keep it plain. Sometimes the simplest finish looks the best.
Lessons from My Early Tries
I made plenty of mistakes when I started frosting cakes, but each one taught me something useful:
- Always wait until the cake is fully cool before starting
- Don’t rush the crumb coat — it saves you from messy sides later
- Keep your frosting at the right temperature for smooth spreading
- Clean your spatula often while working to avoid dragging crumbs
- Chill the cake between steps to help the layers hold their shape
At first, I tried to make everything look perfect. Over time, I learned that cakes look better when you stop worrying about perfection and just enjoy the process. Every cake you frost helps you understand how to work with the tools, the texture, and your own pace.
How to Store a Frosted Cake
Once your cake looks the way you want, you’ll want to keep it that way. The best way to store a frosted cake depends on the type of frosting and the weather in your kitchen.
If you’ve used buttercream or cream cheese frosting, the cake can stay at room temperature for up to a day as long as it’s covered. I like to keep mine under a large bowl or a cake dome so dust doesn’t settle on top.
For longer storage, place the cake in the fridge. Let it chill uncovered for about fifteen minutes first so the frosting firms up, then wrap it gently with plastic wrap. When you’re ready to serve, take it out about thirty minutes before cutting so it softens again and tastes fresh.
Related Questions
How can I make frosting smoother?
If your frosting looks rough or uneven, dip your spatula in warm water, wipe it dry, and glide it gently over the surface. The warmth helps soften the outer layer just enough to smooth it out.
Can I frost a cake the day before serving?
Yes, and it often turns out better. Frost the cake, then store it in the fridge overnight. The frosting will set and hold its shape. Before serving, let the cake sit at room temperature for about half an hour so it’s soft when you cut it.
How do I stop crumbs from showing in frosting?
That’s what the crumb coat is for. Always start with a thin layer of frosting to trap crumbs, chill it, then add your final coat. If crumbs still show, clean your spatula and go over that area lightly with fresh frosting.
What’s the best frosting for beginners?
Buttercream is the easiest to start with. It spreads well, holds shape, and can be smoothed easily. Whipped cream frosting tastes great but is trickier because it melts faster and doesn’t hold up as long.
Frosting a cake may look like a small step, but it’s what transforms a simple bake into something special. Take your time, stay patient, and keep practicing. Each time you pick up the spatula, you’ll notice your hands becoming steadier and your confidence growing.
Before long, you’ll look at your finished cake and feel that small, proud moment every baker knows — the joy of turning something homemade into something beautiful.